How to Build a Taxi App: Full Development Guide Step by Step
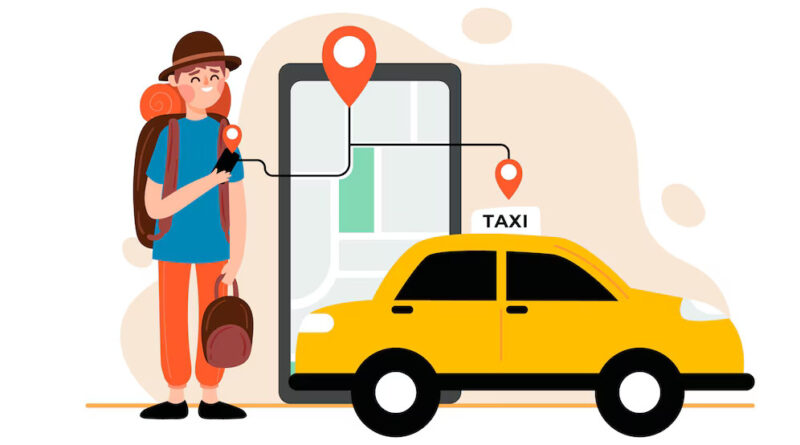
Taxi booking apps like Uber and Lyft have changed the transportation industry. If you want to build a taxi app that competes in this market, you need a clear and structured process. This guide breaks down each step so you can plan, develop, and launch your app with confidence.
Why You Should Build a Taxi App
The demand for ride-hailing services continues to grow. People prefer booking rides using their phones rather than calling or hailing a cab. A well-developed taxi app provides users with convenience, real-time updates, and quick service.
Building a taxi app also gives companies control over operations, from driver allocation to payment management. Whether you’re a startup or an established taxi business, an app helps you scale and reach more customers.
Key Features of a Taxi App
Before jumping into development, decide what features your taxi booking applications will include. The taxi app usually consists of three modules: Passenger App, Driver App, and Admin Panel.
Passenger App Features
- User Registration: Allow users to sign up using a phone number, email, or social media.
- Ride Booking: Enable users to book rides by entering pickup and drop-off locations.
- Fare Estimation: Show approximate cost before booking.
- Real-Time Tracking: Let users see driver location in real time.
- Multiple Payment Options: Support card, wallet, and cash payments.
- Ride History: Display past bookings and payment details.
- Ratings and Reviews: Collect feedback after each ride.
Driver App Features
- Driver Profile and Authentication: Allow secure sign-up and background checks.
- Trip Requests: Let drivers accept or reject requests.
- Navigation and Routing: Offer map integration with GPS.
- Earnings Dashboard: Show daily, weekly, and monthly income.
- In-App Chat or Calling: Enable communication with passengers.
Admin Panel Features
- Dashboard: Monitor operations, rides, and payments.
- User Management: Manage drivers and passengers.
- Reports and Analytics: View performance data and reports.
- Fare Management: Adjust rates, surge pricing, and offers.
Step-by-Step Development Process
Before diving into development, it’s crucial to gather insights about the market and understand user needs. Here’s how to get started:
Step 1: Conduct Market Research
Start by looking into your local market. Study your competitors and their app features. Identify customer pain points and find opportunities to offer better service.
Use surveys and interviews to collect insights. This step helps you avoid building features that people don’t want and focus on what they actually use.
Step 2: Define Your App Requirements
Write down what your app must do. List the essential features and extras that give you a competitive edge.
Prepare wireframes and user flows. These help visualize how the app will look and how users will move through it.
Step 3: Choose the Right Tech Stack
Your tech stack affects your app’s performance and scalability. Choose wisely based on your budget, timeline, and expected user base.
- Frontend (Passenger/Driver Apps): React Native or Flutter for cross-platform development.
- Backend: Node.js, Python (Django), or Ruby on Rails.
- Database: PostgreSQL or MongoDB.
- Map and Location: Google Maps API, Mapbox.
- Push Notifications: Firebase Cloud Messaging.
- Payments: Stripe, PayPal, Razorpay.
Step 4: Hire Your Development Team
You can build the app in-house or outsource to an agency. Your team should include:
- UI/UX Designer
- Frontend Developer
- Backend Developer
- QA Tester
- Project Manager
If you’re on a budget, hiring a full-stack developer with strong experience in mobile app development can also work.
Step 5: Design UI/UX
Your app must be simple and easy to use. Design the interface with the user in mind. Focus on:
- Clear buttons and navigation
- Minimal screens
- Fast access to booking and tracking
- Use of familiar icons and visual cues
Test your design with users before starting development. Their feedback helps fix issues early.
Step 6: Develop the App
Break the development into phases:
- MVP (Minimum Viable Product): Start with core features like login, ride booking, tracking, and payments.
- API Integration: Connect with Google Maps, payment gateways, and messaging services.
- Admin Panel Setup: Build tools to manage drivers, users, and reports.
- Security Implementation: Add SSL encryption, secure login, and token-based access.
Build, test, and improve each module before moving on to the next.
Step 7: Test Across Devices
Testing ensures your app works without bugs. Test on multiple devices and operating systems. Focus on:
- Speed and performance
- GPS accuracy
- Payment gateway
- Push notifications
- Crash reports
Run both manual and automated tests. Use tools like Appium or Selenium for test automation.
Step 8: Launch Your App
Submit your app to the App Store and Google Play. Prepare proper metadata: app description, screenshots, icons, and keywords.
At launch, offer promotions or discounts to attract first-time users. Monitor reviews and fix any issues quickly.
Step 9: Monitor and Improve
After launch, track user behavior and app performance. Use analytics tools like Firebase and Mixpanel.
Release updates regularly. Add new features, fix bugs, and keep the app compatible with new OS versions.
Common Challenges
- GPS Inaccuracy: Use reliable map APIs and allow manual location correction.
- Payment Issues: Use well-documented payment APIs and test extensively.
- Driver Shortage: Onboard drivers before launch and offer sign-up bonuses.
- Scalability: Use cloud services to manage server load as your user base grows.
Final Thoughts
Building a taxi app takes planning, effort, and the right team. You can’t launch overnight, but by following these steps, you set yourself up for success. Focus on user needs, build a clean and reliable product, and keep improving based on feedback.
With the right strategy and execution, your taxi app can compete in today’s on-demand economy.